

How to Fix Uneven Room Temperatures in Your Home
Table of Contents
Step 1: Check and Replace Your Air Filter
Step 2: Inspect and Adjust Supply Vents and Return Air Grilles
Step 3: Balance Airflow Between Floors and Rooms
Step 4: Seal Ductwork to Stop Air Leakage
Step 5: Upgrade to a Smart Thermostat with Remote Room Sensors
Step 6: Consider HVAC Zoning Systems for Room-by-Room Control
Step 7: Improve Insulation to Reduce Heat Gain and Heat Loss
When to Call a Professional for HVAC Diagnostics and Load Calculation
Frequently Asked Questions
Last Updated: September 14, 2026
Step 1: Check and Replace Your Air Filter
A clogged air filter is the most common cause of uneven room temperatures, and it is the cheapest problem to rule out. When a filter loads up with dust, the blower motor has to push against higher resistance, so less conditioned air reaches the rooms furthest from the unit. That is why the back bedroom always feels wrong while the hallway feels fine.
How to fix uneven room temperatures starts here: check the filter before you touch anything else.
Turn the system off at the thermostat or isolator.
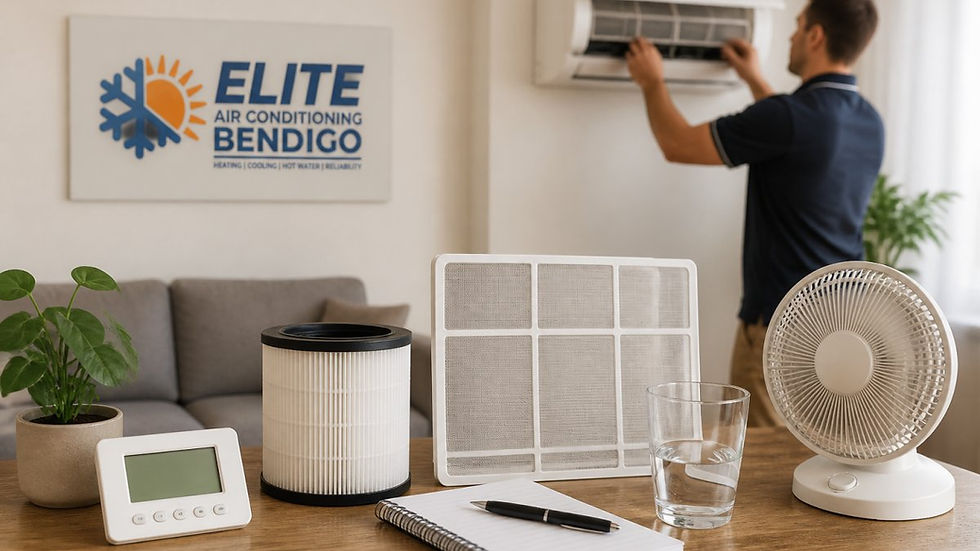
Slide the filter out and hold it up to a light. If you cannot see through it, replace it.
Note the size printed on the frame and buy the same dimensions. A filter that does not seal lets unfiltered air bypass it.
Standard 25 mm pleated filters suit most homes. Avoid the highest-efficiency ratings unless your system was designed for them, because they restrict airflow more.
Replace or clean the filter every one to three months, and monthly during heavy use. A common mistake is installing the filter backwards. The arrow on the frame points in the direction of airflow, toward the unit.
Pro Tip Write the install date on the filter frame with a marker. It takes five seconds and removes all guesswork about when it was last changed.
Step 2: Inspect and Adjust Supply Vents and Return Air Grilles
Supply vents and return air grilles control where air enters and leaves each room, and blocked or misdirected vents are a frequent culprit behind hot and cold spots. Walk through the house and open every register fully before you adjust anything.
Check each supply vent for furniture, curtains, rugs or boxes sitting over the grille. A sofa pushed against a floor register changes the airflow balance in that room entirely. Then look at the return air path. A bedroom with a closed door and no return grille has nowhere for air to escape, so it pressurises and stops accepting supply air.
Open all supply registers fully and leave them there for 24 hours.
Clear obstructions at least 300 mm from every grille.
Undercut doors or fit transfer grilles where rooms have no return path.
Adjust ceiling diffusers so air throws along the ceiling, not straight down onto occupants.
Once the basics are clear, you can start tuning individual rooms. Closing a vent in one room to push air elsewhere rarely works the way people expect, and it raises static pressure on the whole system.
Step 3: Balance Airflow Between Floors and Rooms
Balancing airflow between floors is the part most homeowners get wrong, because closing vents does not redirect air the way intuition suggests. Each branch duct has a damper, usually a small lever on the duct near the main trunk, and that is the correct adjustment point.
Start with the rooms that are too cold in winter or too warm in summer. Partially close the damper on the branch serving the room that gets too much air, and open the ones serving starved rooms. Make small changes, roughly a quarter turn at a time, then wait a day before adjusting again. Airflow balance settles slowly.
A temperature differential of more than 2 to 3 degrees Celsius between rooms on the same system usually points to a balancing or duct problem rather than a capacity problem. Measure with a simple thermometer at bench height in each room, not at the thermostat.
Watch Out Never close more than a quarter of your supply vents at once. Doing so raises static pressure inside the ductwork, which strains the blower motor and can shorten its life. If you need that much adjustment, the system needs proper balancing, not vent closing.
Step 4: Seal Ductwork to Stop Air Leakage
Duct leakage is the hidden cause of uneven temperatures in many older homes, and it is invisible because most of the ductwork runs through ceiling cavities and subfloors. Air that escapes before it reaches a room never gets the chance to heat or cool it.

Look for separated joints, torn flexible duct, disconnected takeoffs and crushed sections where ducts have been sat on or squashed against framing. Seal accessible joints with mastic sealant or foil-backed tape rated for ductwork. Standard cloth duct tape dries out and fails within a season, so do not use it.
Where ducts run through an unconditioned roof space, insulation matters as much as sealing. A duct carrying cool air through a hot ceiling cavity loses capacity before the air arrives. Wrapping exposed runs in insulation bats or sleeve insulation makes a measurable difference to the rooms at the end of the line.
This is also where a building envelope check pays off. Air leakage into the ceiling space, poor ceiling insulation and unsealed penetrations all work against your duct repairs. The Australian government guidance on home energy efficiency outlines how insulation and draught sealing combine to reduce heat gain and heat loss.
Step 5: Upgrade to a Smart Thermostat with Remote Room Sensors
A smart thermostat with remote room sensors solves a specific problem: the thermostat only knows the temperature where it is mounted, which is often a hallway or living area that is nothing like the bedrooms. Averaging readings from several rooms gives the system a truer picture of the whole house.
Thermostat placement is the reason so many homes feel wrong. A unit mounted near a window, in direct sun, or beside a kitchen will read a temperature that no occupant experiences. Remote sensors let you weight the rooms that matter, so the system runs until the cold bedroom is comfortable rather than until the hallway hits target.
Setup typically takes under an hour for a compatible system. Before buying, confirm the thermostat supports your system type, because not all units work with multi-stage or zoned equipment.
Choose sensors for the two or three rooms that are consistently wrong.
Set a schedule that weights occupied rooms at the right times of day.
Avoid placing sensors near draughts, appliances or direct sunlight.
Smart thermostats improve control, but they cannot fix a duct system that delivers half the air it should. Fix the airflow first, then add the controls.
Step 6: Consider HVAC Zoning Systems for Room-by-Room Control
HVAC zoning systems divide a home into separate comfort zones, each with its own thermostat and motorised damper, so rooms get conditioned air only when they need it. This is the most effective fix for a multi-story home where upper and lower levels never agree.
Retrofitting zoning into an existing ducted system is entirely possible, and it is where most guides stop short. A zoning retrofit adds dampers into the branch ducts, a control panel, and a thermostat per zone. The catch is that the system must be able to handle reduced airflow when zones close. That means a bypass damper or a variable-speed blower motor, and it is why a zoning retrofit needs a proper design assessment rather than a parts swap.
Zoning suits homes with genuinely different conditions between areas: a two-storey house, a large extension, or a floor with big west-facing glass. It suits poorly where the underlying problem is a leaking duct or a system that was never sized correctly. In those cases, zoning masks the fault and adds cost.
If you are weighing up zoning, ask for a heating and cooling load calculation first. A load calculation determines what each zone actually needs, which is the difference between zoning that works and zoning that just moves the problem around.
Step 7: Improve Insulation to Reduce Heat Gain and Heat Loss
Insulation reduces the heat gain and heat loss that make rooms drift from the setpoint in the first place, and it works alongside every other fix on this list. A well-insulated, well-sealed home holds its temperature far more evenly than one that leaks.
Ceiling insulation is the highest-value starting point in most homes, followed by wall insulation in older properties and floor insulation over exposed subfloors. Draught sealing around doors, windows, exhaust fans and wall penetrations stops conditioned air escaping before it does its job.
Heat gain through unshaded west-facing glass can overwhelm a correctly sized system on a hot afternoon. External shading, close-fitting window coverings and, where appropriate, upgraded glazing reduce that load at the source. Ceiling fans help too, because they mix air and reduce temperature stratification between floor and ceiling.
Energy efficiency upgrades in this space can attract Victorian Energy Upgrades (VEU) rebates, which reduce the upfront cost of eligible products (energy.vic.gov.au). Eligibility depends on the specific upgrade and the current program rules, so check the Victorian Energy Upgrades program for the latest requirements and approved products. Elite Air conditioning Bendigo handles point-of-sale VEU rebate paperwork as part of its installation service, which removes the administrative burden that puts many homeowners off claiming.
Key Takeaway Insulation, duct sealing and airflow balancing work as a system. Fixing one while ignoring the others leaves performance on the table, and it is why piecemeal fixes often disappoint.
When to Call a Professional for HVAC Diagnostics and Load Calculation
Call a professional when you have worked through the checks above and the temperature differential between rooms is still more than 2 to 3 degrees Celsius. At that point the problem is usually sizing, duct design or system capacity, none of which you can diagnose from the thermostat.
HVAC diagnostics involve measuring static pressure, airflow at each outlet and temperature rise or drop across the unit. Those readings tell a technician whether the system is delivering the air it was designed to deliver. Load calculation goes further: it determines what the home actually requires, based on floor area, orientation, insulation, glazing and occupancy.
The three gaps most homeowners never address:
Zoning retrofit feasibility. Whether your existing system can support zoning depends on the blower and duct design. This needs assessment, not assumption.
Building envelope analysis. Heat gain and heat loss are driven by the whole envelope, not just the HVAC equipment. A technician who only looks at the unit will miss half the problem.
Smart vent technology versus system pressure. Aftermarket smart vents that close automatically can raise static pressure and damage a system that was not designed for them. They are not a substitute for proper zoning.
Elite Air conditioning Bendigo provides free on-site heating and cooling quotes, expert design and load calculation, and impartial advice across all major brands. If you are unsure whether your system needs balancing, sealing or replacing, that assessment is the sensible first step rather than guessing at parts.
Symptom | Likely Cause | First Fix |
One room always cold, others fine | Blocked or closed supply vent | Step 2: open and clear the vent |
Whole house weak, filter dirty | Restricted airflow | Step 1: replace the filter |
Upper floor hot, lower floor cold | Airflow imbalance | Step 3: adjust branch dampers |
Rooms near unit fine, far rooms poor | Duct leakage | Step 4: seal and insulate ducts |
Temperature swings through the day | Poor thermostat placement | Step 5: add remote sensors |
Zones never agree, two-storey home | No zone control | Step 6: assess zoning retrofit |
Rooms drift from setpoint in all seasons | Envelope heat gain and loss | Step 7: insulation and draught sealing |
Uneven room temperatures are rarely caused by one fault, and treating them as a single problem is why so many fixes fail. Work through the steps in order, measure as you go, and be honest about when the issue sits beyond a DIY adjustment.
Elite Air conditioning Bendigo can take it from there. We offer impartial advice across all major brands, expert load calculation and system design, free on-site quotes, a free electricity and gas bill comparison, and point-of-sale VEU rebate handling so you capture the savings without the paperwork. Request a quote and get a system sized for how your home actually performs.
Frequently Asked Questions
How do you fix uneven room temperature?
Start by checking and replacing the air filter, then inspect supply vents and return air grilles to ensure they are open and unobstructed. Adjust dampers to balance airflow between rooms. If problems persist, seal duct leaks, upgrade to a smart thermostat with remote sensors, or consider HVAC zoning systems. A professional can perform a heating and cooling load calculation to identify design issues.
Can poor insulation cause uneven room temperatures?
Yes, poor insulation allows heat gain in summer and heat loss in winter, making some rooms hotter or colder than others. Improving insulation in walls, ceilings, and floors helps maintain consistent temperatures. Addressing air leakage around windows and doors also reduces draughts. For older homes, an energy assessment can pinpoint insulation gaps and prioritise upgrades.
When should you call a professional for HVAC balancing?
Call a professional if DIY adjustments like changing filters, opening vents, and adjusting dampers do not resolve uneven temperatures. Persistent hot and cold spots, unusual noises, or high energy bills may indicate ductwork issues, incorrect system sizing, or the need for zoning. A qualified technician can perform airflow diagnostics and recommend solutions such as duct sealing or a load calculation.
How does a heating and cooling load calculation improve comfort?
A heating and cooling load calculation determines the exact heating and cooling capacity your home needs based on factors like floor area, insulation, window glazing, and orientation. An accurately sized system runs efficiently, maintains consistent temperatures, and avoids the cycling and uneven airflow that occur with oversized or undersized units. This calculation is essential before installing a new system or addressing chronic comfort issues.
Request a Quote

Comments